
Preparing a print-ready file is an essential step to ensure your printed materials look professional and accurate. Many printing problems occur because files are not properly prepared before sending them to the printer.
Whether you are printing brochures, business cards, flyers, or posters, understanding how to prepare print-ready files can save time, reduce errors, and improve print quality.
What Is a Print-Ready File?
A print-ready file is a design file that is correctly formatted for printing. It includes the proper color mode, resolution, bleed settings, and file format required by the printing process.
A properly prepared print file ensures that the final printed product looks exactly as intended.
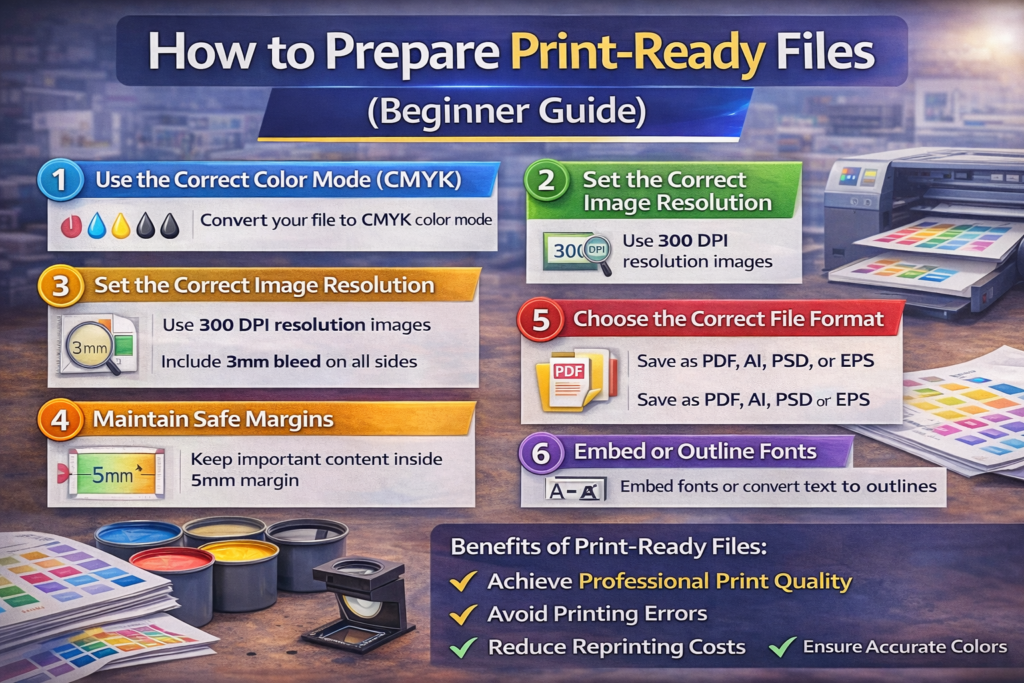
Step 1: Use the Correct Color Mode (CMYK)
Most digital screens use RGB color mode, but printing machines use CMYK (Cyan, Magenta, Yellow, Black).
If your design is created in RGB, the printed colors may appear different.
Tip
Always convert your design to CMYK color mode before exporting the final file.
Step 2: Set the Correct Image Resolution
Low-resolution images can appear blurry or pixelated in print.
Recommended Resolution
Use 300 DPI (dots per inch) for all images used in print designs.
This ensures sharp and clear printing results.
Step 3: Add Bleed to Your Design
Bleed is the extra area around the edges of a design that allows for trimming without leaving white borders.
Standard Bleed Size
Add 3 mm bleed on all sides of your document.
This prevents important design elements from being cut off during trimming.
Step 4: Maintain Safe Margins
Important elements such as text, logos, and contact details should not be placed too close to the edge.
Safe Margin
Keep critical content at least 5 mm inside the trim line.
This ensures they remain visible after cutting.
Step 5: Choose the Correct File Format
Printers usually prefer specific file formats that maintain design quality.
Best File Formats for Printing
- PDF (Print-ready) – Most recommended
- AI (Adobe Illustrator)
- PSD (Photoshop)
- EPS
Among these, PDF with embedded fonts is the most commonly used format.
Step 6: Embed or Outline Fonts
If fonts are not embedded, they may change when opened on another computer.
Solution
- Embed fonts in the PDF
or - Convert text to outlines
This ensures the text appears exactly as designed.
Step 7: Check for Final Proof
Before sending files to print, review the design carefully.
Check for:
- Spelling errors
- Correct contact details
- Alignment issues
- Color consistency
A final proof check prevents costly reprints.
Benefits of Using Print-Ready Files
Preparing print-ready files helps businesses:
✔ Achieve professional print quality
✔ Avoid printing errors
✔ Reduce reprinting costs
✔ Save production time
✔ Ensure accurate colors and layout
Conclusion
Preparing a print-ready file is a crucial step in the printing process. By using the correct color mode, proper resolution, bleed settings, and file formats, businesses can ensure their printed materials look professional and error-free.
Taking a few extra minutes to prepare files correctly can make a significant difference in the final print quality.